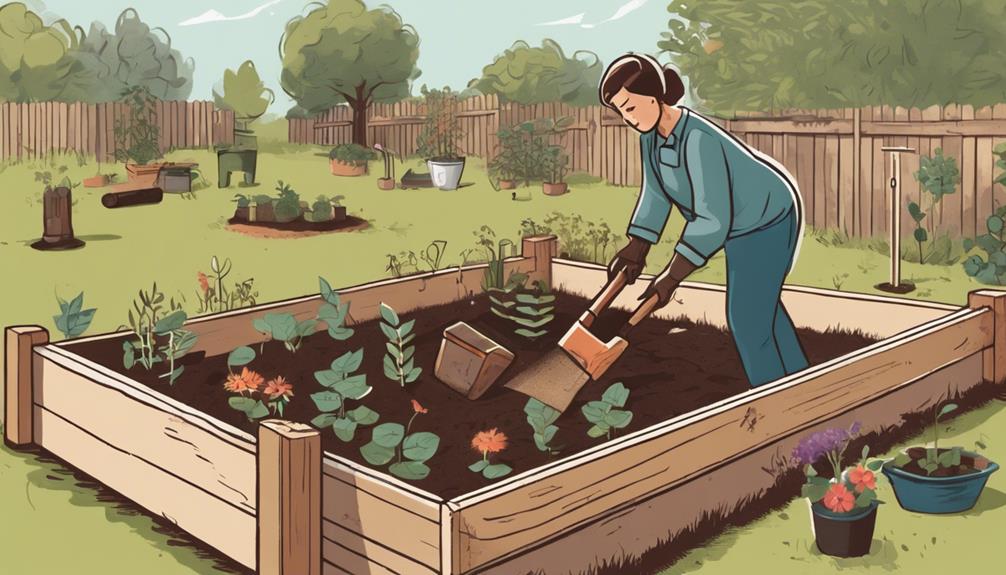
You're about to create a thriving oasis in your backyard! To build a raised garden bed, start by planning your design, considering plant types, sunlight, and accessibility. Next, clear the building site, leveling the ground and marking out the area. Cut and assemble a sturdy frame, using high-quality lumber, and then add a specialized soil mix and irrigation system. Finish with landscape fabric to prevent weeds and promote healthy growth. With these basics covered, you're ready to take the next steps to create a flourishing garden that's all your own – and it's just a few hours away!
Plan Your Raised Garden Bed
Before you start building your raised garden bed, take some time to plan its layout and design to guarantee it meets your gardening needs. This important step will ensure you create a functional and efficient space that suits your gardening style. Take into account the type of plants you want to grow, the amount of sunlight your yard receives, and the accessibility you need. Think about the garden layout – will you have separate sections for different plants, or a mixed arrangement?
It's essential to take into account your budget constraints when planning your raised garden bed. Determine how much you're willing to spend on materials, tools, and potential accessories like irrigation systems or trellises. This will help you make informed decisions about the size, material, and features of your garden bed. You may need to prioritize certain elements over others to stay within your budget.
When planning your garden layout, think about the flow of your garden bed. Leave enough space between plants for easy access and maintenance. Consider incorporating paths or aisles to make it easy to move around your garden. Don't forget to think about the aesthetics – choose a design that complements your outdoor space and adds visual appeal. By taking the time to plan your raised garden bed, you'll create a thriving and enjoyable gardening experience that brings joy to you and those you serve.
Prepare the Building Site
Clear the area where you'll be building your raised garden bed, removing any debris, grass, or weeds that might be in the way. This site clearing is important to guarantee a solid foundation for your garden bed. Take your time to thoroughly remove any obstacles, including rocks, twigs, and leaves. You can use a rake or a shovel to clear the area, depending on the type of debris you're dealing with.
Once you've cleared the site, it's time to level the ground. Ground leveling is vital to make sure your raised bed is even and stable. Check the ground for any slopes or unevenness, and use a level or a long spirit level to determine the highest point. Mark this point with a stake, and then use a shovel to dig away any high spots. Fill in any low-lying areas with soil or gravel to create a level surface.
Remember to also check for any underground utilities, such as electric or gas lines, before you start digging. It's also a good idea to mark out the area where your raised bed will sit, using stakes and twine, to get an idea of the space you're working with. By taking the time to properly prepare your building site, you'll be setting yourself up for success and ensuring a sturdy foundation for your raised garden bed.
Cut and Assemble the Frame
With your building site prepared, you can now focus on creating the frame that will contain your raised garden bed, starting with cutting the lumber to the required lengths. This is an important step, as it will determine the overall structure and durability of your garden bed.
When designing your frame, consider the following key elements to guarantee a sturdy and reliable structure:
- Frame design: A simple rectangular frame with four corners is a great starting point. You can also consider adding a bottom plate for extra support.
- Corner stability: Use corner brackets or screws to secure the corners, ensuring they can withstand the weight of the soil and plants.
- Lumber quality: Choose high-quality lumber that's resistant to rot and insect damage.
- Assembly plan: Create a plan for assembling the frame, considering the order in which you'll attach the sides, bottom, and corners.
Add Soil and Irrigation
Now that your frame is assembled, you're ready to add the soil and irrigation system that will bring your raised garden bed to life. The importance of your soil is vital, as it will directly impact the health and productivity of your plants. Look for a mix that's specifically designed for raised beds, with a balanced pH and nutrient-rich composition. Avoid using soil from your yard, as it may compact and prevent proper drainage.
Speaking of drainage, a well-designed irrigation system is essential to prevent waterlogged soil and root rot. You can install a simple drip irrigation system, which delivers water directly to the roots of the plants, reducing evaporation and runoff. Alternatively, you can use soaker hoses or a sprinkler system, depending on your specific needs. Make sure to include a drainage layer, such as a 2-3 inch layer of gravel or broken pottery, at the bottom of your bed to facilitate excess water flow.
When adding soil, start by filling the bed to about 2/3 capacity, then add your irrigation system. Finally, top off the bed with the remaining soil, gently firming it in place as you go. With your soil and irrigation system in place, you're one step closer to creating a thriving garden that will bring joy and sustenance to you and those you serve.
Finish With Landscape Fabric
As you prepare to plant, lay down a layer of landscape fabric to guarantee weeds from growing up through your carefully crafted garden bed. This essential step secures your raised bed remains weed-free, reducing maintenance and promoting healthy plant growth. Landscape fabric is a permeable material that allows water and air to reach your plants' roots while blocking weeds from germinating.
Here are some key benefits of using landscape fabric in your raised garden bed:
- Weed suppression: Landscape fabric prevents weeds from growing, reducing the need for frequent weeding and preserving the beauty of your garden.
- Fabric durability: High-quality landscape fabric is designed to withstand harsh weather conditions and last for several seasons.
- Improved drainage: The fabric's permeable nature ensures excess water drains quickly, preventing waterlogged soil and root rot.
- Soil temperature regulation: Landscape fabric helps regulate soil temperature, keeping it cooler in the summer and warmer in the winter, promoting healthy root growth.
Frequently Asked Questions
Can I Use Pressure-Treated Wood for My Raised Garden Bed?
'As you begin your gardening journey, beware of the Trojan horse in disguise – pressure-treated wood. While it may seem like a durable option, toxicity concerns lurk beneath the surface. The chemicals used to treat the wood can leach into the soil, contaminating your harvest. Instead, opt for naturally rot-resistant woods like cedar or cypress, ensuring your garden remains a haven for healthy growth.'
How Often Should I Water My Raised Garden Bed?
You're wondering how often to water your raised garden bed. It's important to check the moisture levels daily, especially during hot weather. You should water when the top 2-3 inches of soil feel dry to the touch. Aim for about 1-2 inches of water per week, either from rain or irrigation. For consistent moisture, water your garden bed 2-3 times a week, adjusting the frequency based on weather conditions.
Will a Raised Garden Bed Attract Pests and Rodents?
"Congratulations, you've created a five-star resort for pests and rodents! Just kidding, kind gardener. Seriously, a raised garden bed can attract unwanted guests, but don't worry, you can outsmart them. Implement pest control methods like companion planting, crop rotation, and physical barriers. Wildlife deterrents like fences, repellents, and scarecrows can also keep critters at bay. By taking these steps, you'll be serving up a pest-free haven for your plants to thrive."
Can I Build a Raised Garden Bed on a Slope?
When constructing on a slope, you'll need to take into account the terrain. Don't worry, it's doable! You'll just need to level the ground before constructing your raised bed. Use a level tool to determine the slope's angle, then create a level surface by digging into the higher side or building up the lower side. You can also use retaining walls or terracing to create a flat surface. With some extra planning, you can successfully build on a slope and create a thriving garden.
How Long Does a Raised Garden Bed Typically Last?
You might be surprised to know that a well-maintained raised garden bed can last up to 10-15 years, similar to how a carefully tended garden grows stronger with time. The lifespan of your raised bed depends on factors like the type of materials used, exposure to weather, and maintenance routines. Regular upkeep, such as replacing worn-out wood and keeping the soil healthy, will guarantee your garden bed remains thriving for years to come, serving as a haven for you and your community.